Data from Gavel to Zapier & Webhooks
Below, we explain how to export data from Gavel to Zapier and into other applications. Already know what Zapier is and how it works? Great! Simply copy your Zapier Webhook URL into your workflow under Settings > Integrations and click “Send Test Data.” To learn more, read on below.
Watch the video course on using Zapier with Gavel to learn what's possible:
First thing's first - What is Zapier?
Zapier allows non-developers to easily transfer data between different applications. Many other software platforms have created “apps” in Zapier to allow you to connect different apps together. See here.
How does Gavel work with Zapier?
Gavel has built an “app” in Zapier called “Gavel” that sends data from your Gavel workflow to Zapier upon the completion of your workflow. This is called a “trigger” in Zapier. You can think of a trigger as an event that initiates a process in Zapier to run, called a “Zap”. When your Gavel Workflow is completed, your Zap will run.
So, it goes: Trigger >> Zap Runs >> Action
Question types we send to Zapier
Gavel sends the data for many of the questions you use in your workflows to Zapier. These include: Text, Text Area, Dropdown, Combobox, Single Select, Multi Select, Yes/No, Number, Number (with decimal), Date, Email, Repeating Item (with all the above question types supported), Clio Contact, Clio Matter, CSV Data Source, and any variables you create using Invisible Logic
How do I send data from Gavel to Zapier?
First, if you haven’t already, sign up for a Zapier account at zapier.com they have a free tier you can use to test it out.
Setup in Gavel is simple. For each workflow, you can specify which Zap in Zapier you would like to run when your workflow is completed. Follow this process to do this:
1. Finalize your Gavel workflow
To function properly, Zapier requires the data being sent to remain consistent. It’s less work and troubleshooting to do this once your Gavel Workflow is finalized. This means you will want to finalize and test your workflow in Gavel before setting up Zapier. If you are still adding and removing questions or changing your variable names, your data will not remain consistent when sending to Zapier. As a result, if you make a change in Gavel and already have Zapier configured, you will need to adjust your Zap in Zapier.
2. Log into Zapier and click “Make a Zap”
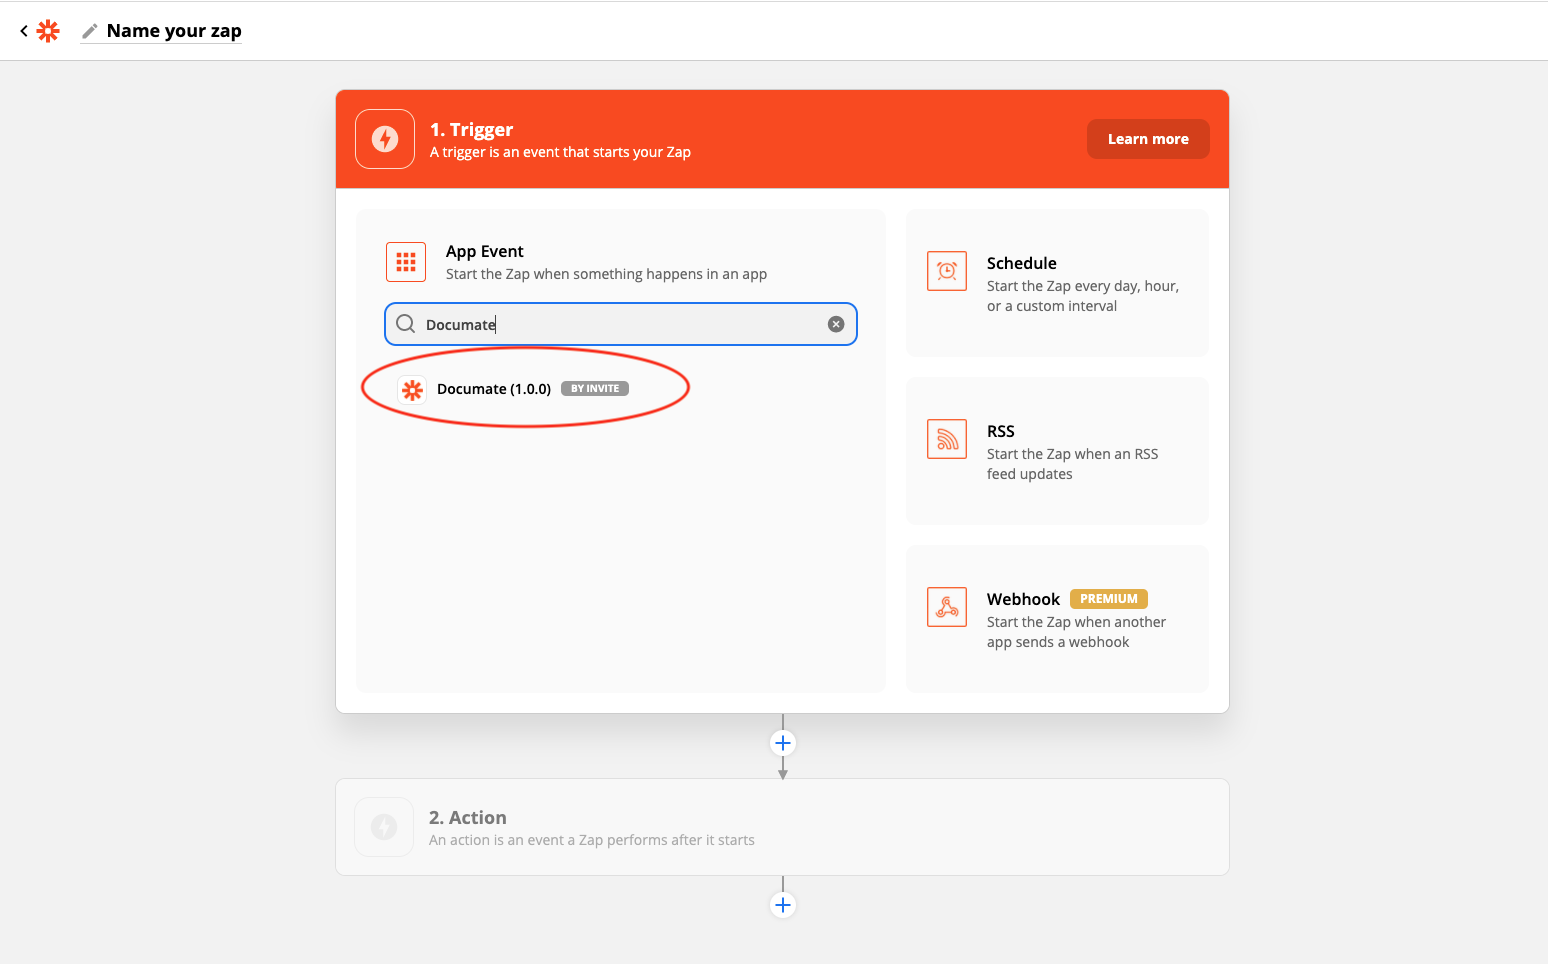
In Zapier, create a Zap to connect Gavel to another system. After clicking “Make a Zap,” search for a Trigger. Enter “Gavel” into the search apps box and select it.
3. Select a “Trigger Event”
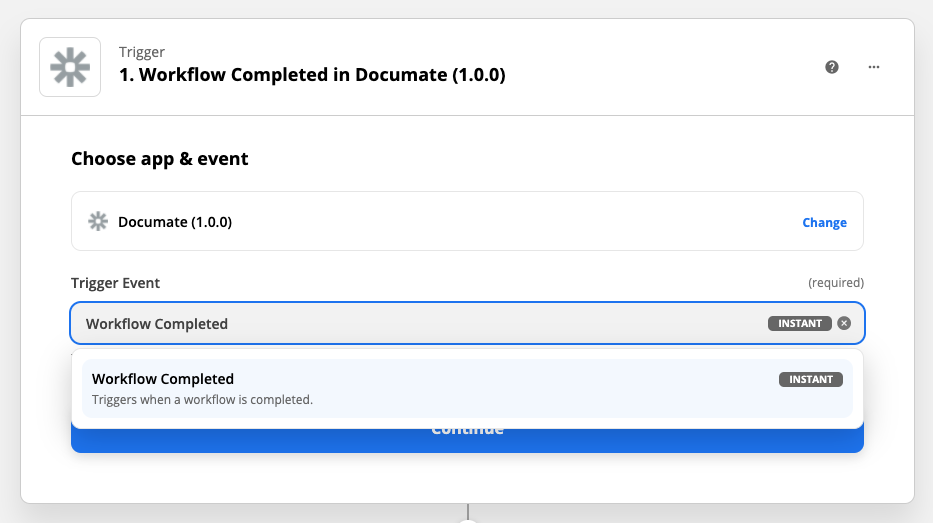
In the dropdown “Trigger Event” choose “Workflow Completed.” This tells Zapier that you want your Zap to run when your Gavel Workflow has completed (meaning all of the data has been entered). Select “Continue.""
4. Connect to Gavel
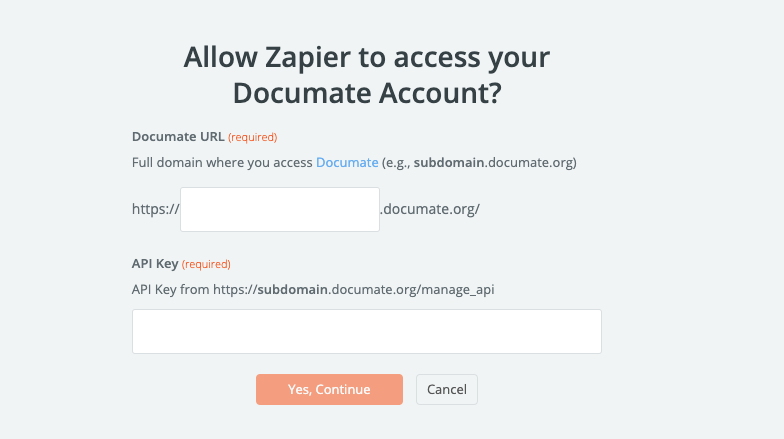
Connect to Gavel using your subdomain and API Key. If you don't know how to get your API key, it's the same process as for the Word add-in (see instructions here).
5. Send test data to Zapier
We want to inform Zapier of the data your workflow will be sending. To do this press the “Send Test Data” button in Gavel.
6. Test your Zap
Return to Zapier and press “Continue.” You will see a screen that asks you to “Test your trigger.” Since you sent test data already, press “Test trigger” to continue. You will see a list of all the test data that was sent from Gavel.
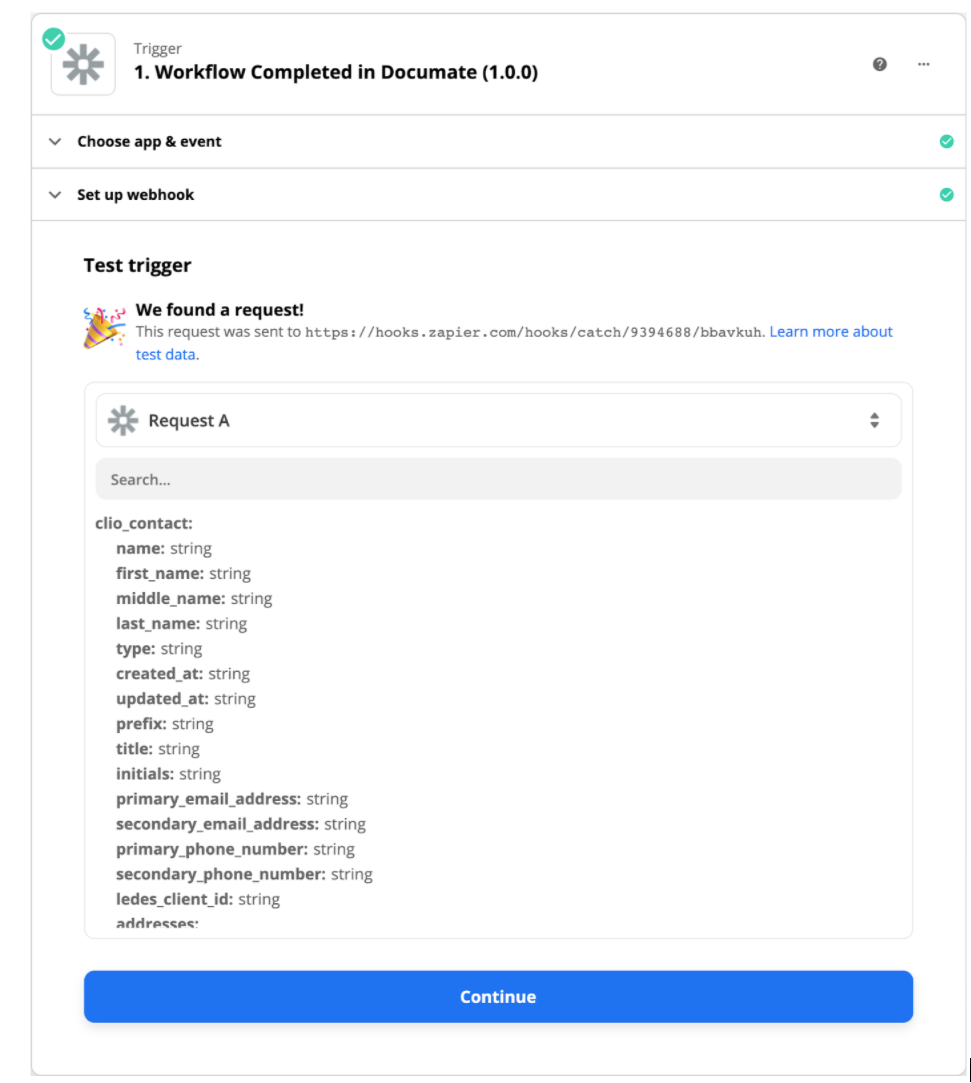
Press “Continue,"" at which point you'll connect this data into another app in Zapier.
How do I send data and documents from Gavel to Zapier?
If you would like to include your generated documents in your Zap, you will complete the steps in a slightly different order.
First, if you haven’t already, sign up for a Zapier account at zapier.com they have a free tier you can use to test it out.
Setup in Gavel is simple. For each workflow, you can specify which Zap in Zapier you would like to run when your workflow is completed. Follow this process to do this:
1. Finalize your Gavel workflow
To function properly, Zapier requires the data being sent to remain consistent. It’s less work and troubleshooting to do this once your Gavel Workflow is finalized. This means you will want to finalize and test your workflow in Gavel before setting up Zapier. If you are still adding and removing questions or changing your variable names, your data will not remain consistent when sending to Zapier. As a result, if you make a change in Gavel and already have Zapier configured, you will need to adjust your Zap in Zapier.
2. Log into Zapier and click “My Apps”
Connect to Gavel using your subdomain and API Key. If you don't know how to get your API key, it's the same process as for the Word add-in (see instructions here).

3. Click "Create a Zap"
In Zapier, create a Zap to connect Gavel to another system. After clicking “Make a Zap,” search for a Trigger. Enter “Webhooks by Zapier” into the search apps box and select it.

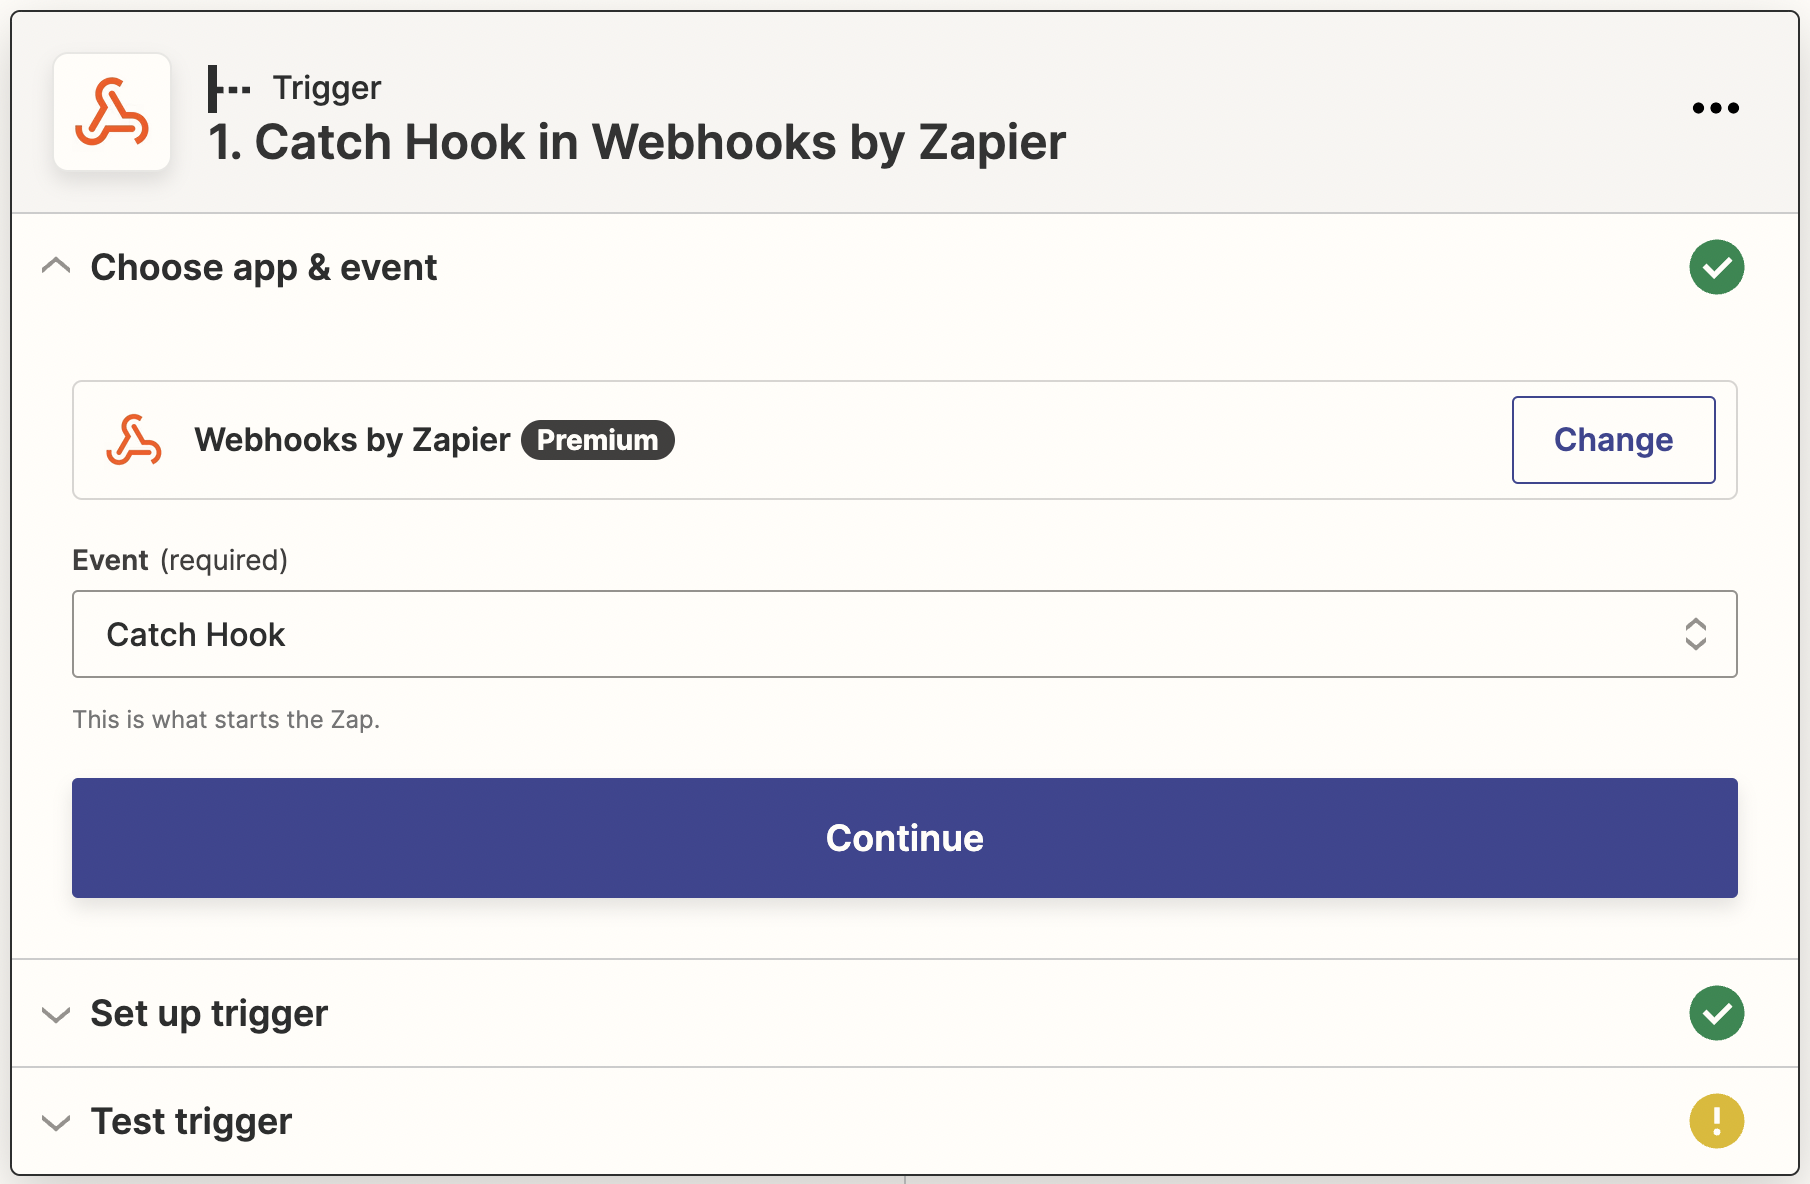
4. Select a “Trigger Event”
In the dropdown “Trigger Event” choose “Catch Hook” This tells Zapier that you want your Zap to run when your Gavel Workflow has completed (meaning all of the data has been entered). Select “Continue.""
5. Connect to Gavel
Zapier will provide a webhook URL. Copy this URL.

Then, open your workflow in Gavel. In the settings tab of your workflow, paste the URL and check the box labeled "Include Documents."

6. Send test data to Zapier We want to inform Zapier of the data your workflow will be sending. To do this, press the “Send Test Data” button in Gavel.
7. Test your Zap
Return to Zapier and press “Continue.” You will see a screen that asks you to “Test your trigger.” Since you sent test data already, press “Test trigger” to continue. You will see a list of all the test data that was sent from Gavel.

Press “Continue,"" at which point you'll connect this data into another app in Zapier.
What comes next? The Sky's the Limit
You’re done with the Gavel side of setup, and the rest will happen in Zapier. This is the fun part, because with the tools that Gavel can connect to in Zapier, you can do almost anything with the data. If you can think of it, there’s most likely a way to make it happen.
In general, you are going to pick an app from the Zapier library and map the data you sent from Gavel to the fields provided by the app. You can have multiple steps, format your data, send the data down different paths based on the answers to your questions, loop through repeating item data, and much more.
Note: Zapier changes variable names slightly. While Gavel doesn’t allow spaces, Zapier doesn’t show underscores and will adjust the names accordingly. If you have a variable in Gavel named “my_address” in Zapier it will look like “My Address”.
We will be providing templates to help you along your way. As always, if you need help, we’re here for you 7 days a week.
More Advanced Features
Zapier can be very powerful, and you can use it to set up complex automation. Zapier provides several integrations you can use to manipulate your data the way you want, including, but not limited to:
- Paths – build different steps for different rules https://zapier.com/apps/paths/integrations
- Filter – only proceed when a condition is met https://zapier.com/apps/filter/integrations
- Formatter – change how incoming data is formatted https://zapier.com/apps/formatter/integrations
- Delay – pause actions for a certain amount of time https://zapier.com/apps/delay/integrations
- Looping – run all the following steps repeatedly https://zapier.com/apps/looping/integrations
What if I can’t find an app in the Zapier library to suit my needs?
Zapier provides a generic integration called “Webhooks”. This allows a developer to access data sent by Gavel and build a custom integration. You can learn more here: https://zapier.com/apps/webhook/integrations
We have explained above how to put your webhook URL into a workflow. If you want to see the shape of the data you would get from your workflow, use the step-by-step instructions above, press "Send Test Data" or run your workflow, and use a tool like https://requestbin.com/ or https://postb.in to see the requests.
What if I want to build a custom integration directly to Gavel?
If you already have a developer and want to build your own custom integration, you can use the webhook functionality we have built here to accomplish that. Just click "New Webhook" in the Settings tab of your workflow.
Then, paste your own Webhook URL in the "Webhook URL" field.
For each webhook, indicate whether you would like to include the workflow's output documents in the payload.
Optionally, you can also configure headers.


