Assigning Bundles
Now that you have set up your bundles, you can assign them to your users. There are three ways to assign your bundles to your different user types:
- Assigning to all new and existing users
- Assign to users with a specific email domain
- Assign to specific users.
Regardless of how you assign your bundle, start by visiting your Bundles page.
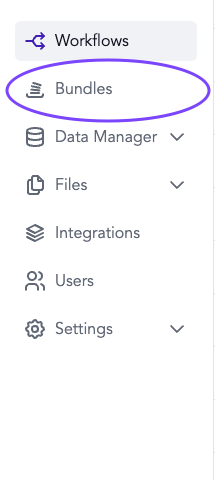
Use the purple “Assign” button for the bundle you want to assign.

Assign Bundles to New and Existing Users
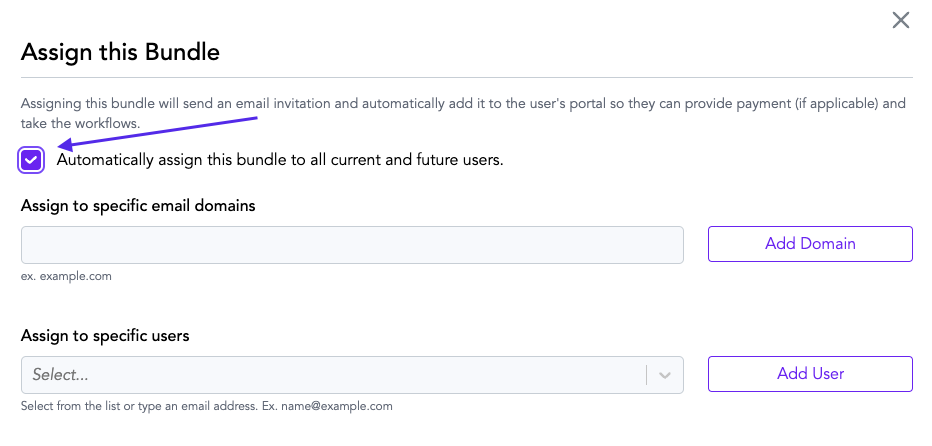
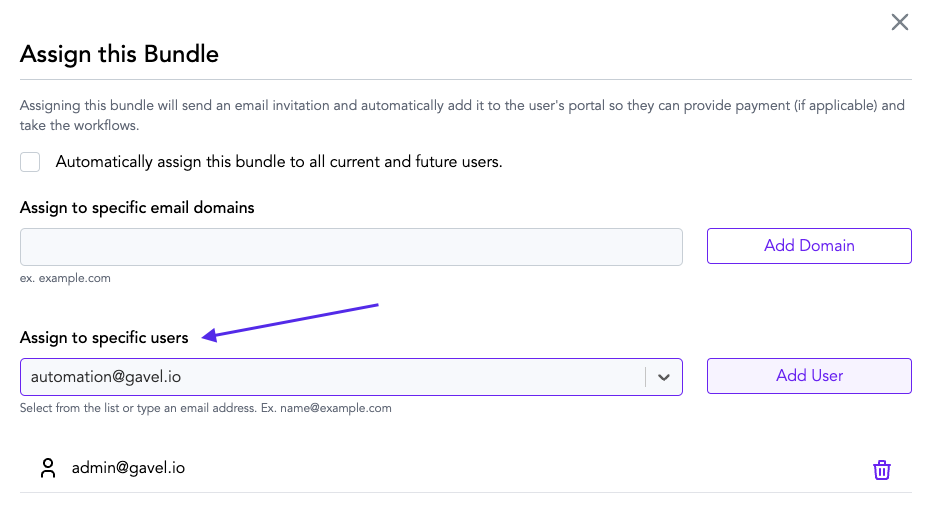
To assign a bundle automatically to new and existing users on your account, click the “Automatically assign this bundle to all current and future users” checkbox. The bundle will now appear in the portal of all current and future users on your account. Admin, Builders, Organizational Users, and Users will all have this bundle in their portal. For more information on users, visit our User Management page.
All users can check to see their assigned bundles by going to:
yoursubdomain.gavel.io/portal.
Assign Bundles to Users with a Specific Email Domain
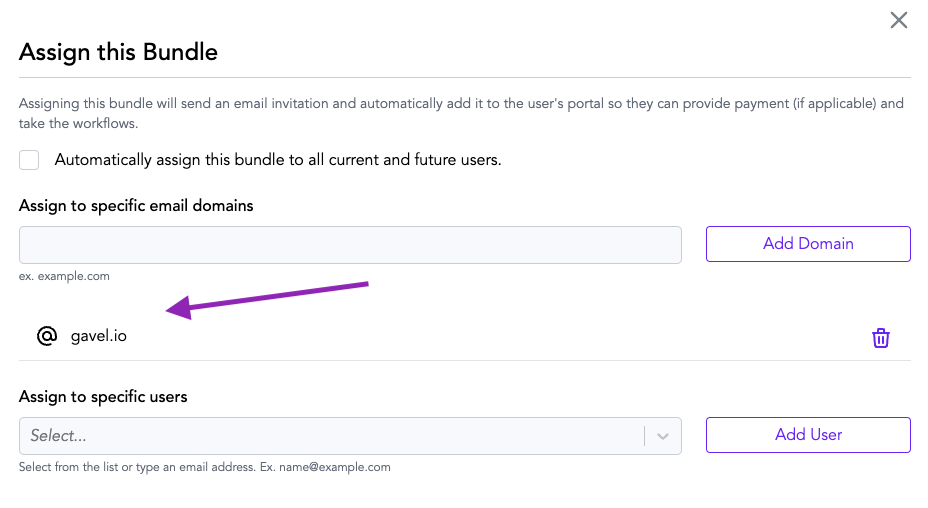
You can also assign bundles to anyone with a specific email domain. For example, by writing gavel.io into this section and adding that domain, any user with the email domain @gavel.io will now have that bundle automatically assigned to their portal.
Assign Bundles a Specific Users
You can assign bundles to specific users by writing in their email or selecting the email associated with their Gavel account from the drop-down. After a specific user has been assigned the bundle, you will see a list of those assigned.
Removing Assigned Bundle
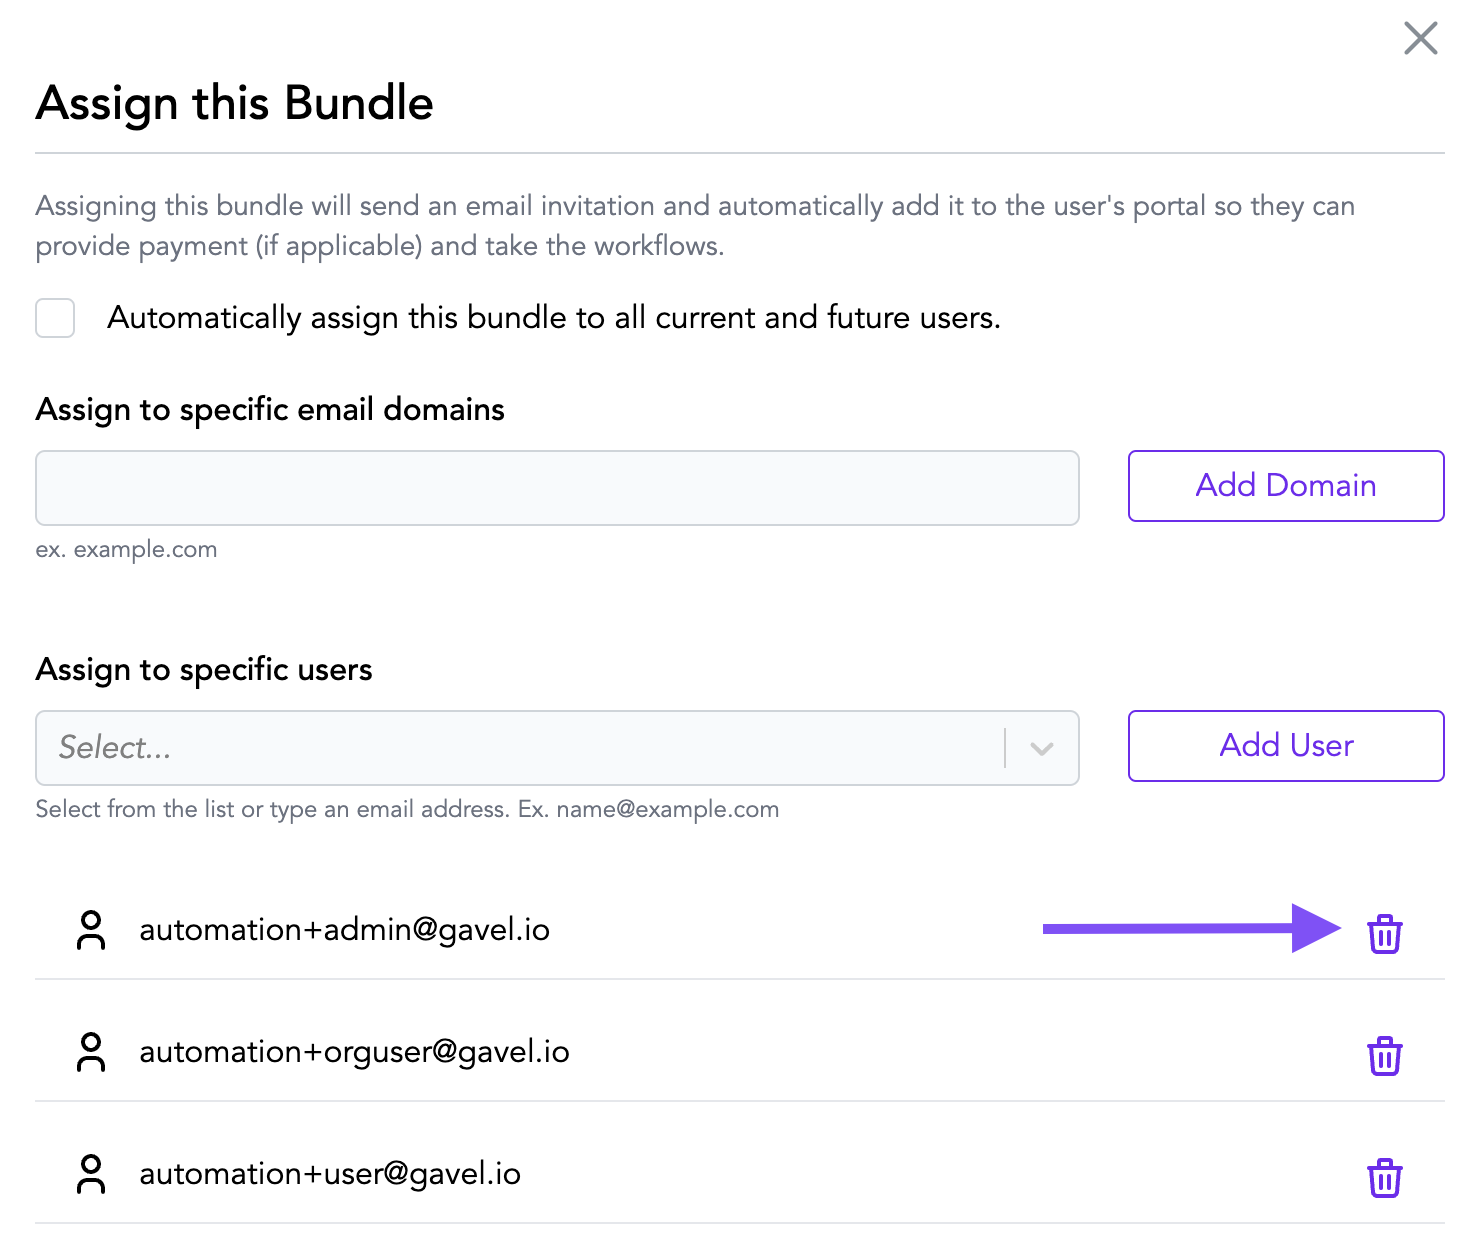
After assigning a specific email domain or specific user to a bundle, you should see that domain and email address displayed in a list. To have a user or domain unassigned, click the purple trashcan icon to the right of the user name or domain you would like to remove. After clicking this trashcan icon, if they no longer show up in this list, then they have been removed correctly. The user or domain will no longer see this bundle on their portal.
